
How to Make Your First Pottery Piece with a Social Pottery Kit
Creating your first piece of pottery is an exciting adventure into the world of art and craftsmanship. With a [Your Brand] Pottery Kit, you have everything you need to start this journey. Whether you’re looking to unwind after a long day or explore your creative talents, follow these steps to craft your very first pottery piece.
Step 1: Setting Up Your Workspace
Before you begin, choose a comfortable and quiet space where you can work undisturbed. Cover your work surface with a plastic sheet or newspapers to make cleanup easier. Gather all the tools and materials included in your [Your Brand] Pottery Kit, and keep a small bowl of water and a clean towel handy.
Step 2: Kneading the Clay
Kneading, also known as wedging, is essential to prepare the clay by removing air pockets and ensuring a uniform consistency. Take the clay provided in your kit and push it down and away from you, then fold it back over itself. Repeat this process for about 5-10 minutes until the clay feels smooth and pliable.
Step 3: Shaping Your Clay
Now comes the fun part—shaping your clay! Start with something simple, like a small dish or a coaster. Roll the clay into a ball, then use a rolling pin to flatten it to an even thickness. Use your hands and tools to shape the clay into your desired form. If you feel the clay getting stiff, dampen your hands with a little water to make it more workable.
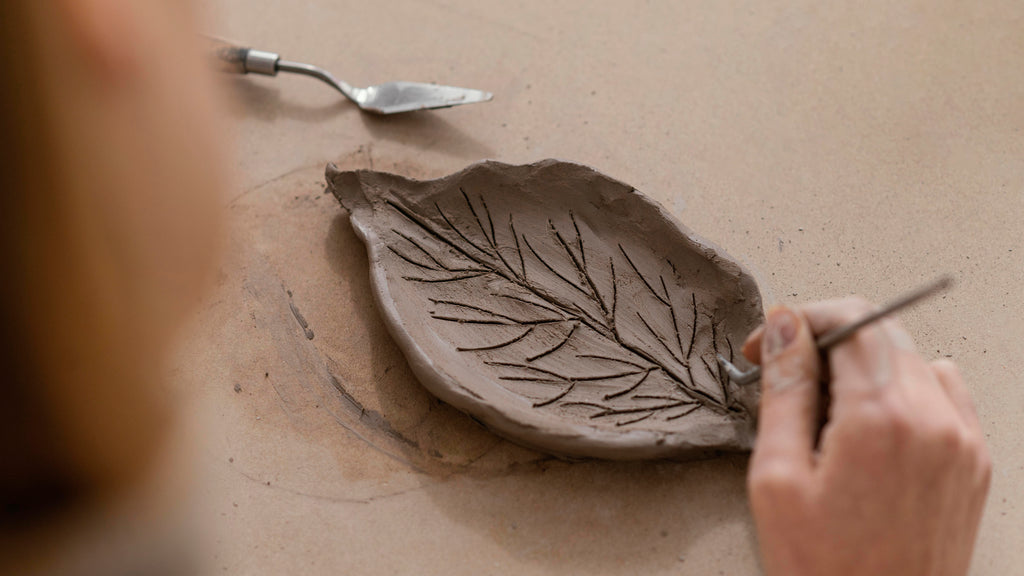
Step 4: Adding Textures and Details
Personalize your piece by adding textures or details. You can use anything from the sculpting tools in your kit to household items like forks or lace to press patterns into the clay. Experiment with different techniques to find what you like best.
Step 5: Drying Your Pottery
Once you’re satisfied with your creation, it’s time to let it dry. Follow the drying instructions included in your kit. Typically, this will mean letting your piece dry slowly and evenly. Avoid moving the piece while it's drying to prevent warping or cracking.
Step 6: Painting and Sealing
After your pottery is completely dry, you can paint it using the colors provided in your kit. Apply the paint evenly and let it dry. Finally, seal your piece with a clear sealant if included, which will give it a professional finish and protect the colors.
Step 7: Sharing Your Creation
Don’t forget to share your creation! Snap a picture and share it on social media with #socialpotterykit. Joining the Social Pottery community can be a great way to connect with other beginners and gain inspiration for future projects.
Conclusion
Making your first pottery piece is an achievement to be proud of. This guide should help you through the process, but remember, pottery is as much about the experience as it is about the final product. Enjoy the process, learn from each step, and don’t be afraid to make mistakes. Every piece is a reflection of your unique creative journey.
